Pzaz Luster Brush
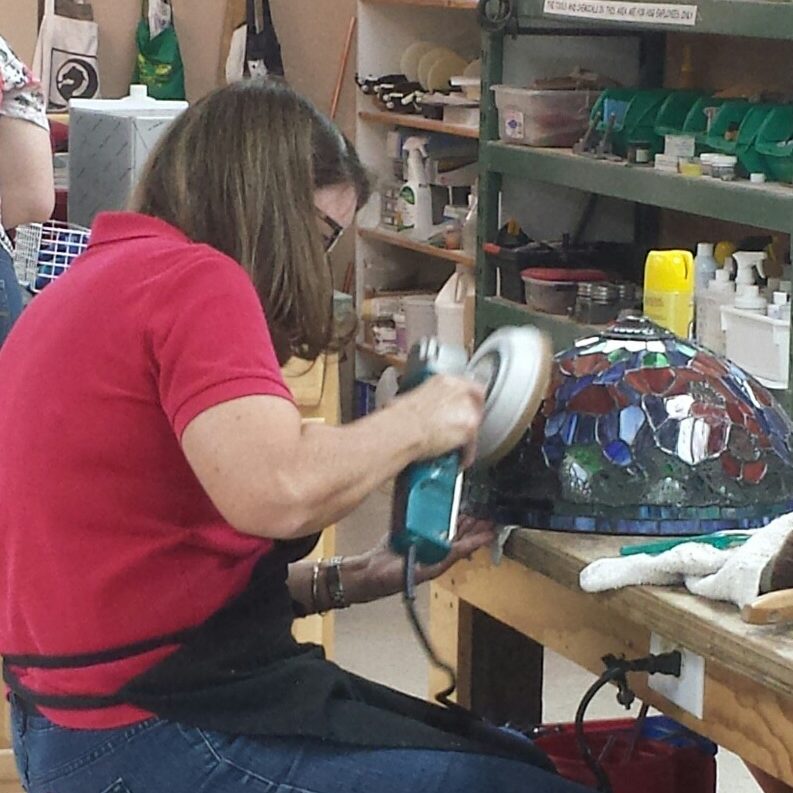
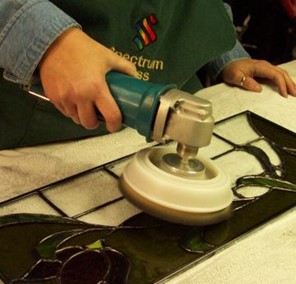
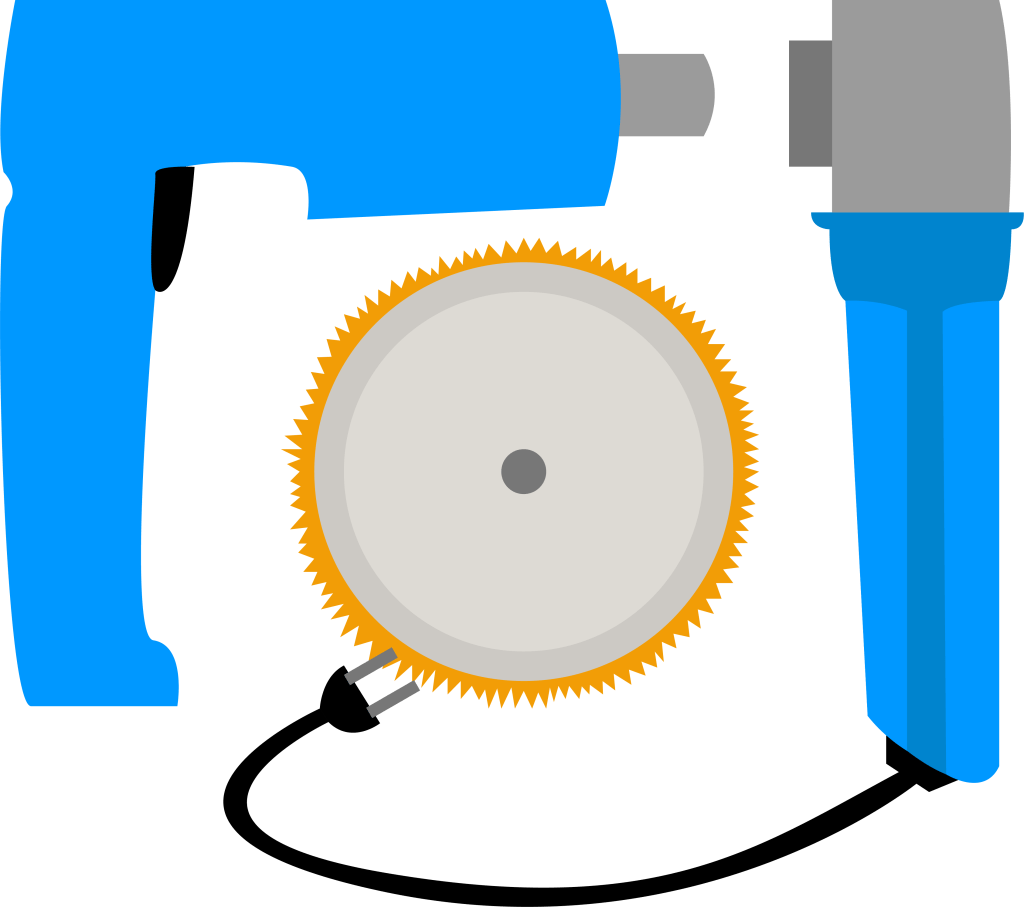
Add a little Pzazz to your project and finish it off with a high shine. The Pzaz natural bristle brush will do a final clean and polish of the glass, lead and copper foil solder lines. Simply insert the shaft into any lightweight 3/8” hand-held power drill. Hold the brush at a slight angle on the project and run it right to left and up and down in a small area. The images below show the Pzaz Luster Brush with a Makita corded right-angle drill and with a Makita cordless pistol-grip drill.

BREAK IN YOUR BRUSH
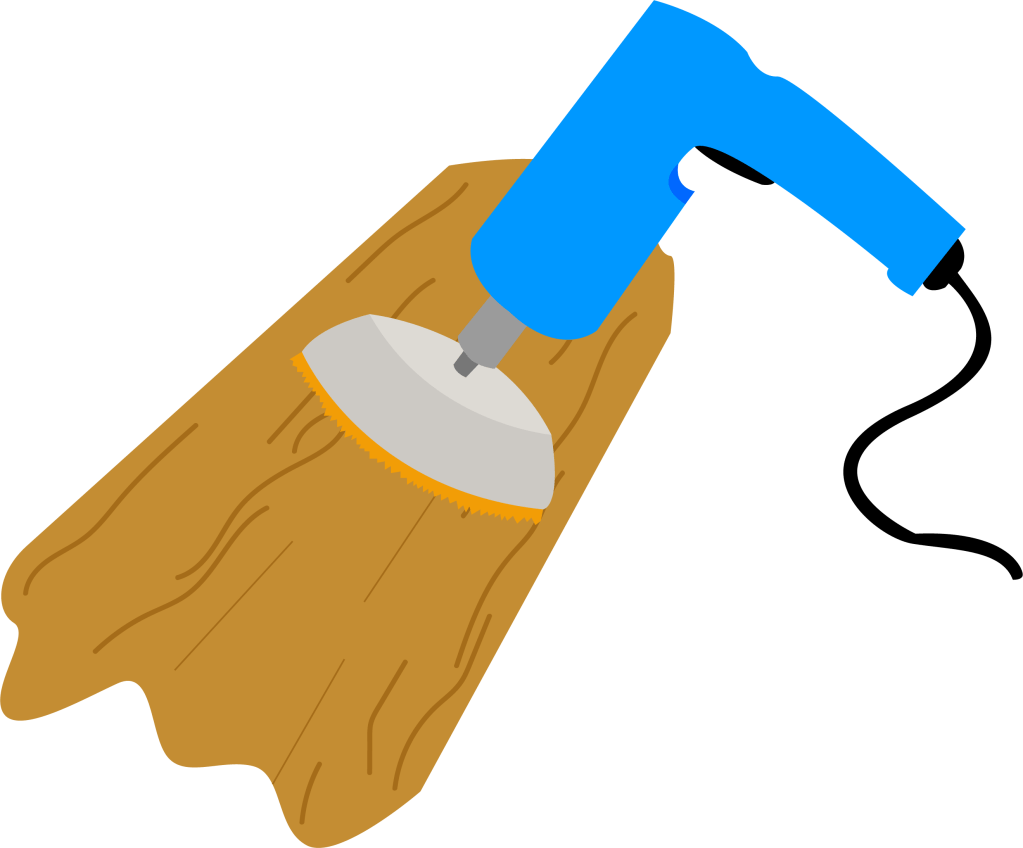
Your brush is comprised of very stiff natural bristles that need to be broken in before use. The break-in time will vary from 5 to 20 minutes. Insert the shaft into your drill and run the brush on the edge of your wooden workbench or on a concrete curb. Practice polishing on an old project. If the brush scratches the lead, repeat the break-in until the lead polishes to a bright, black shine. Do not add any wax or polish.
CHOOSE THE RIGHT DRILL
Most hand-held drills with a 3/8” chuck will be sufficient. Of course, the more powerful it is, the longer it will last. But the heavier it is, the more likely that you’ll experience arm fatigue. When using the Pzaz Brush, you can expect to use your drill at a moderate speed for about ten minutes at a time, depending on project size. Keep that in mind when you choose your drill. The two drills shown above are both from Makita. One is a cordless pistol-grip and the other is a corded “right-angle” drill.
USING THE BRUSH
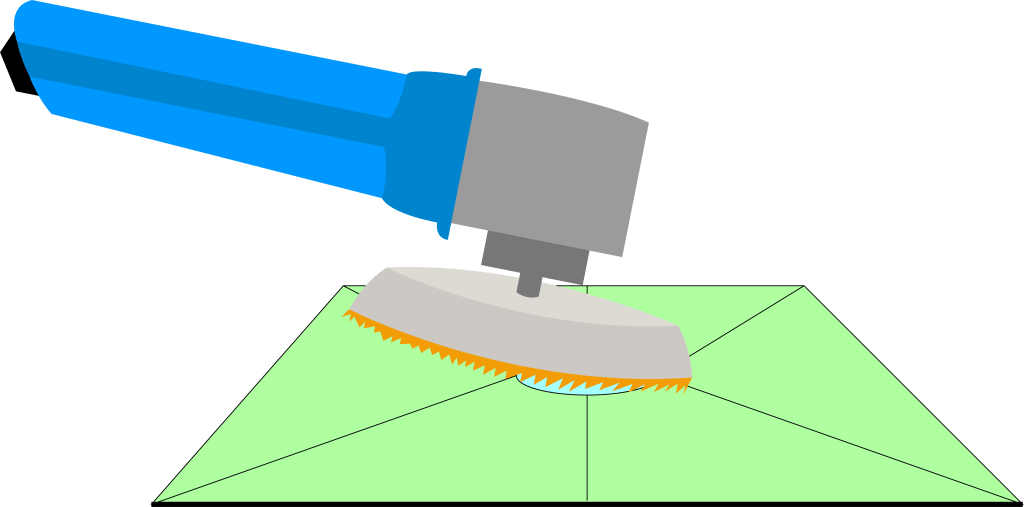
When using the brush, hold it at a slight angle, not flat on the glass surface. If you hold it flat on the surface, it will be harder to control and might actually sling your panel off the table! On a small project, you can put a towel under the stained glass but be careful not to catch the towel in the brush. Stay away from any overlays or wire that aren’t securely soldered in place. Be careful not to tilt the brush at such an angle that the plastic casing bumps into the glass.
POLISHING LEAD STAINED GLASS
Clean your project thoroughly (it’s not a MIRACLE brush). If not pre-cleaned, putty, flux, patina and polish will accumulate on the brush fibers, soon to be deposited on your cleaned glass as a dark area. After cleaning your project thoroughly and removing all excess putty, move the brush right to left and then forward and back over a small area at a time. Stay in one area until the desired effect is achieved. If you move around too quickly, it will take longer to finish the panel. The natural bristles of the brush, the ingredients in the putty and the natural characteristics of the lead will come together to create a rich, dark patina on the lead and a shiny surface on the glass – no wax required.

POLISHING COPPER FOIL

Completely finish the project. Apply patina, neutralize the patina and apply finishing polish letting it dry thoroughly. Before polishing, use a terry cloth towel to remove the polish. You may find yourself polishing while you’re removing the polish. That’s okay. You won’t hurt it. Once the white polish residue is all removed, use the Pzaz Brush as a finishing polish. The Pzaz Brush will remove any tiny residue of wax next to the solder lines and bring your project to perfection. If you have been using the brush on lead work, then you should clean it first or you will find that you’re depositing residue from polishing the lead project.
CLEANING YOUR BRUSH
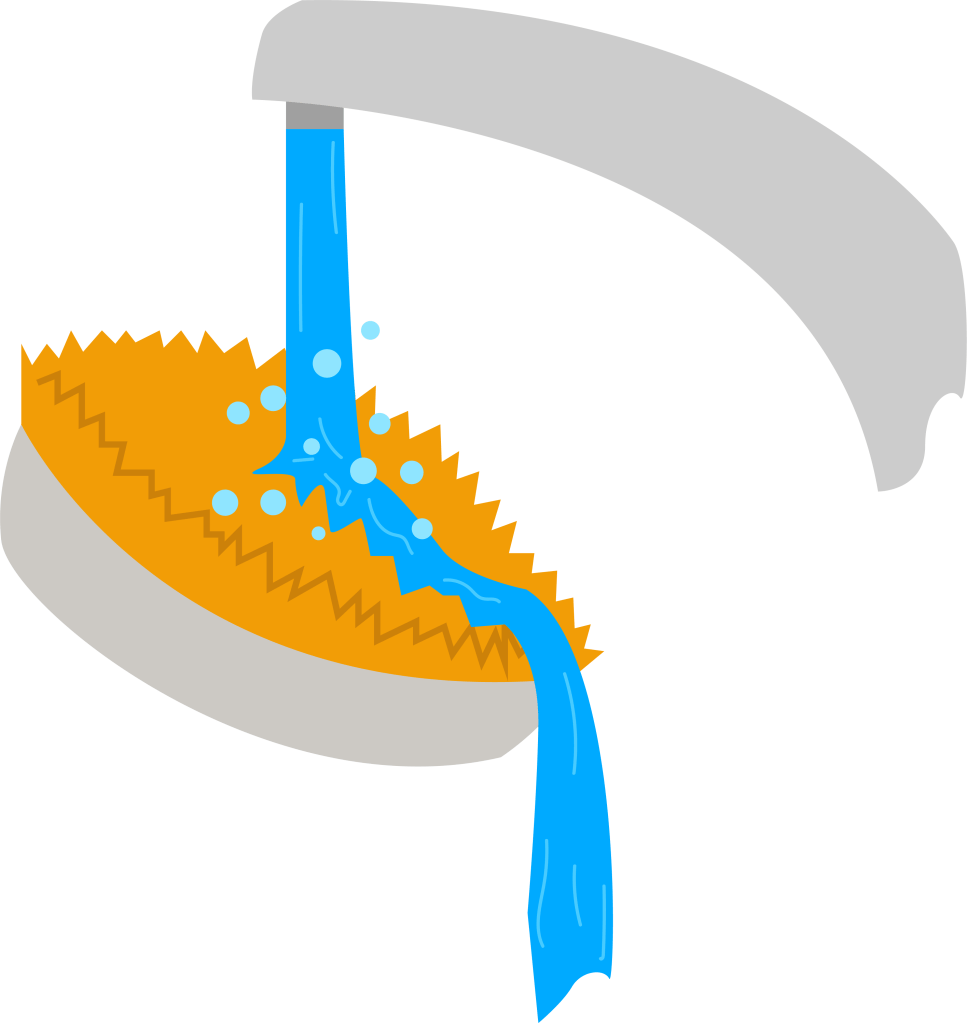
If you find it necessary to clean your brush, you can remove the brush from the hub and scrub the bristles in hot, soapy water. Dry thoroughly.
DO I NEED MORE THAN ONE?

You may want to keep more than one brush. One for copper foil, one for lead came and maybe even one for cleaning old stained glass panels.
BRUSH LIFE
The hobbyist who uses it occasionally will see many years of good use. A production studio working mainly in foil will see a longer life than one working mainly in lead as the texture is rough on the bristles. Constant daily use could wear the brush out in weeks. Do not wear your brush down so far that the plastic casing bumps the panel. New brushes with the hub and replacement brushes without the hub are available from your local retailer. We recommend buying locally if you can. Your local retailer can be a wealth of information with this and other tools. If you don’t have a local retailer, check out www.PzazBrush.com

Available at These Retailers
Carolina Stained Glass, Inc.
3305 Guess Road
Durham, NC 27705
919-620-8117
Ed’s Emporium Art Glass Studio
2200 Barksdale Blvd
Bossier City, LA 71112
318-742-6555
Harmony Stained Glass
3512 Fairmont Pkwy
Pasadena, TX 77504
281-998-3381
Lucent Glass and Art
82 Yarmouth St
Guelph, ON N1H 4G3
Canada
519-821-0771
Shannon’s Stained Glassery
5904 Tower Ave
Superior, WI 54880
715-392-6009
Stained Glass Crafter’s Workbench
7515 Eckhert Rd
San Antonio, TX 78240
210-647-7475
Or Visit Our Etsy Page: